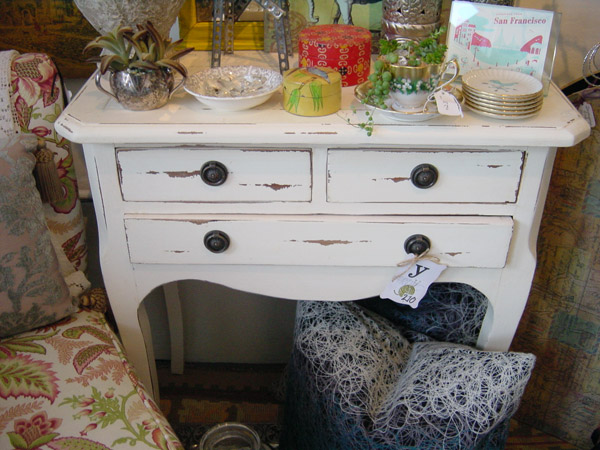
I heart previously loved furniture and objects that had a life previous to Apartment 46. I am attracted to things with a soul. The idea of returning something to its “original” condition bothers me. I strongly believe that things should either be left as they are to continue their journey from home to home, or they should be changed into something entirely different. It’s not that I am against furniture restoration, it’s just that I don’t do it and don’t design that way. The mix of well-loved and brand new creates warm and interesting spaces that speak volumes about the people that live there.
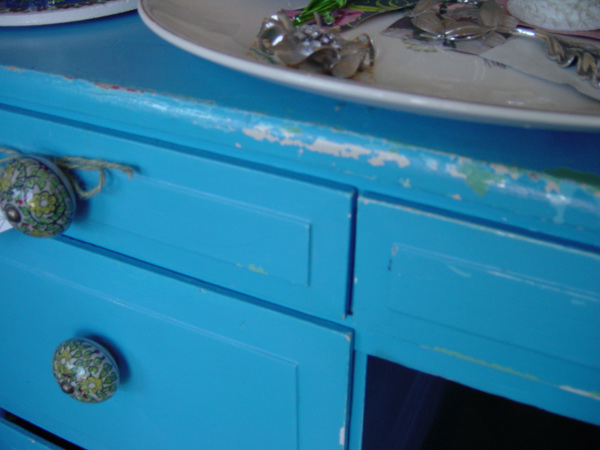
Sometimes though, the most perfect piece of furniture for a room can actually be in too perfect condition. When that happens, it’s time to distress it to give it that romantic, lost- and-found feeling. Although distressing isn’t really difficult, there is an art to it. You actually can distress something too much. There’s a fine line between creating an artfully distressed piece of furniture and a hot mess.

It’s important to decide whether you want to age your piece just a little bit or go all out and give it the French farmhouse look.The shelf above is lightly distressed. It’s a 1960’s Turner Home piece that was originally painted gold. I cleaned it with a soft toothbrush then spray painted it off-white. When it dried, I went over the high areas with a piece of medium grit sandpaper until I got the look I was going for. I then painted it with a light coat of water-based, matte polyurethane.
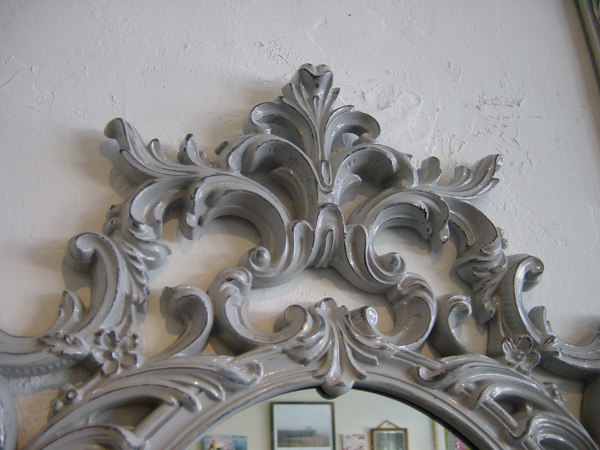
The above mirror was a bit more complex of a project. Again, it’s an awesome Turner piece that was painted hideous gold. I cleaned up all the curves and crevices with a toothbrush and painted it a matte black. After that dried, I added a coat of semigloss Winter Gray. When that dried I used heavy grit sandpaper on the high areas to lightly sand off the layers of paint until I liked the way it looked. I try to sand the areas that would have naturally been worn away with time – the high points, edges, and sides. Think about the piece moving from home to home, and consider how damage (aka distressing) may occur. Layering the paint on the mirror gave it a really cool effect. The gold and black are visible under the gray. Most older pieces will have gone through several iterations of color, and you can mimic that by layering paint and sanding it away to reveal the various colors. I sealed it with a coat of poly to preserve the finished look.
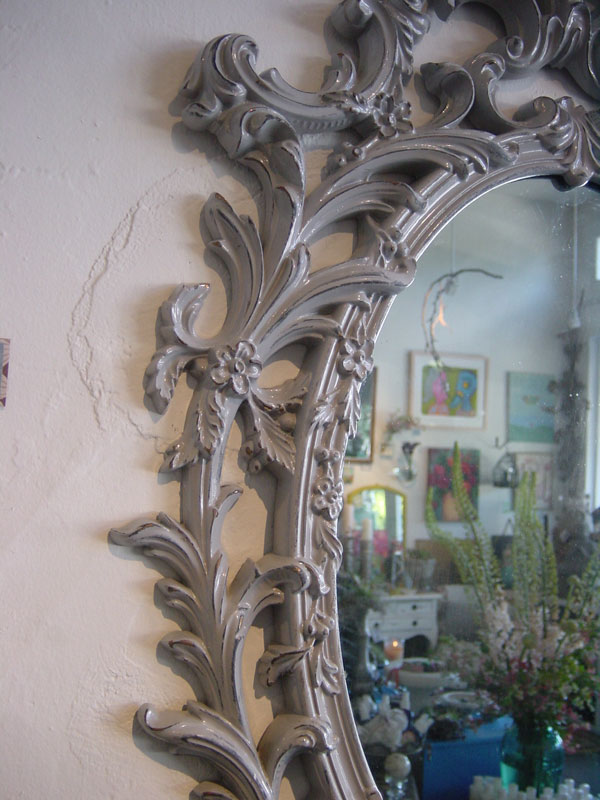 When distressing a piece to look either French Country or even Shabby Chic, you wouldn’t necessarily want layers of color underneath the top coat. The French look is generally all about dark or raw wood underneath. It is more rustic in appearance, more Romeo and Juliet as opposed to American Pickers.
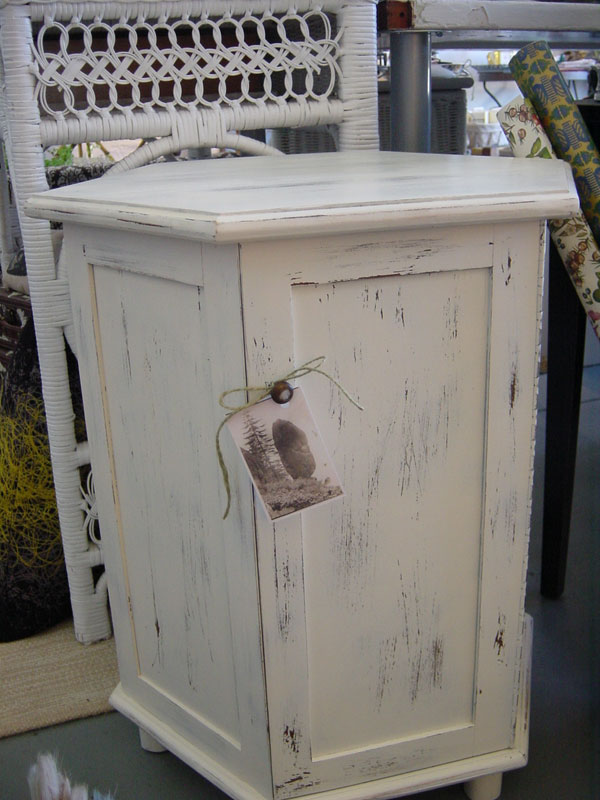
When working on large pieces or areas, it’s important to sand in small chunks as opposed to long lines. Small scratches happen naturally over time, long, symmetrical ones usually do not. It’s important to create a look that seems organically aged and not sandpapered to death. You don’t have to seal a piece with polyurethane when you are done sanding it, but the paint may continue to peel off if you don’t.
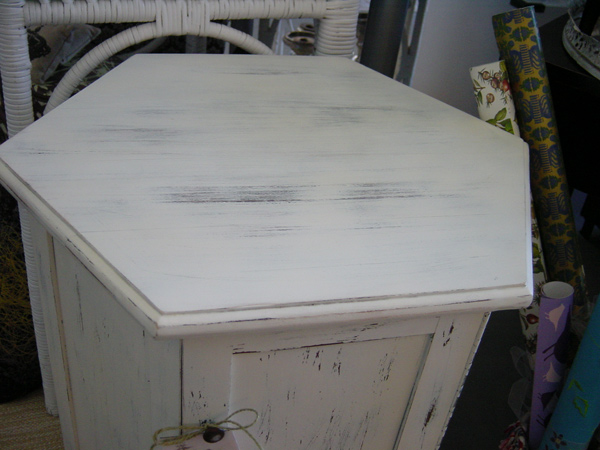
If you have a piece of furniture that you are unsure about, send me a picture and I’ll try to give you helpful advice. If you choose to go it alone and you think you may have gone overboard with the sandpaper, just spray your piece again, let it dry and start over.
At the end of the day though, distressing is very much like seasoning a dish “to taste”. What looks beautiful to you may not work for someone else. As long as you are happy with the end results, that’s all that matters!
All the best,
Melisa
